
Kathleen instructs you to join the back and front at one shoulder seam only, leaving the other shoulder open. Then cut a strip of fabric (bias if using a woven, on the greater stretch if using a knit) about 2" wide and a few inches longer than the neckline length.
Place the strip right side to right side of the neck, beginning at the end of one shoulder. The body of the tee is down on the machine, you will be sewing with the strip uppermost. Then, stitch the strip to the neckline at exactly 3/8", making sure to keep this seam allowance exact (it determines the width of the binding and you want it to be uniform). As you sew, stretch the strip slightly just so that it curls in your hand. You have to develop a feel for this. I would suggest trying a sample first before doing this on a real garment. Who enjoys unpicking?
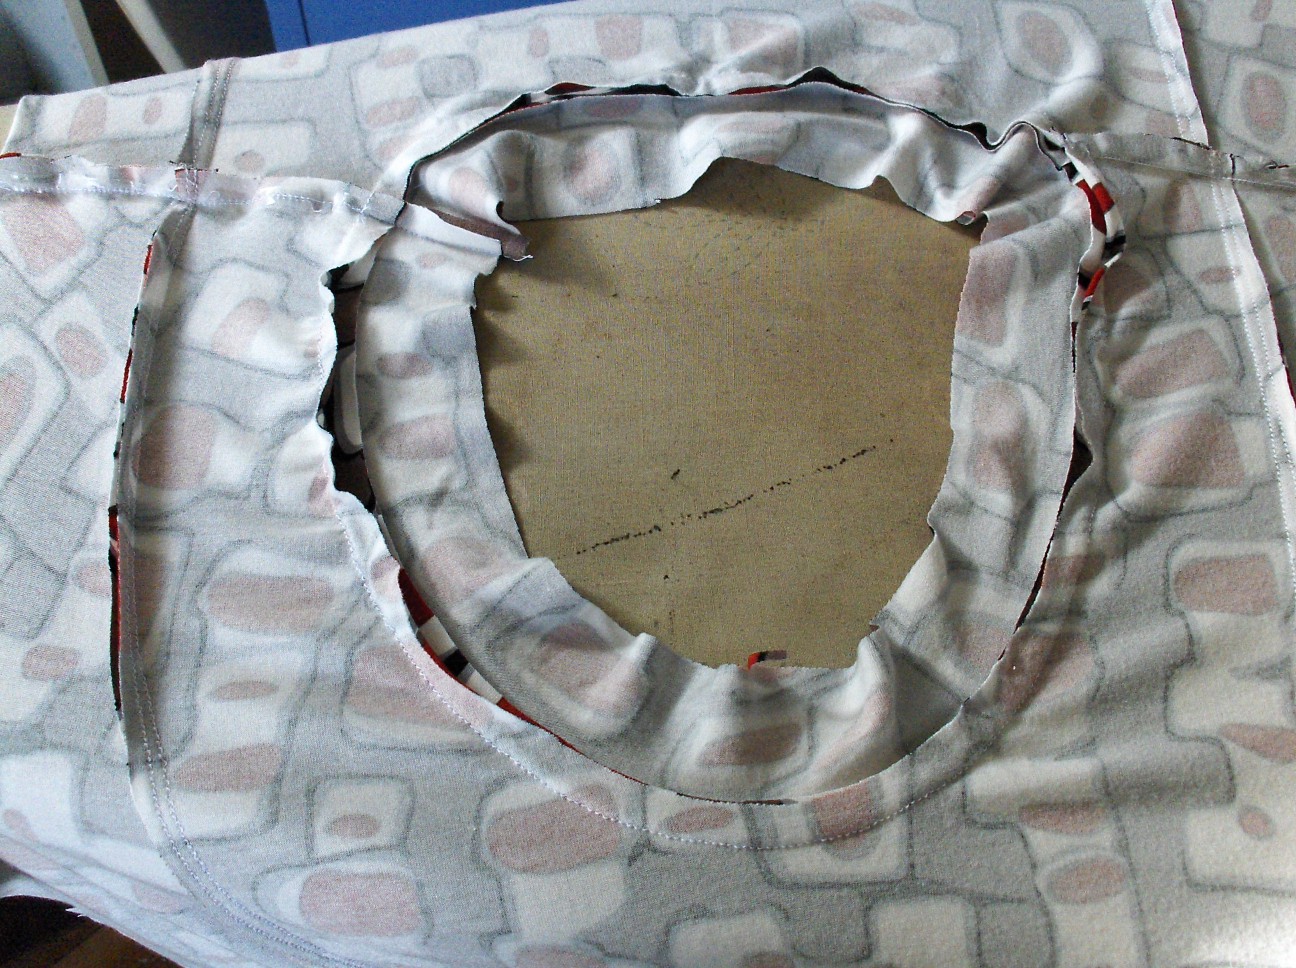
Trim off the binding at the ends, making sure you cut it to follow the angle of the shoulder seam. Turn the seam allowances toward the binding, and sew the open shoulder seam closed. The photo below shows the garment at this stage. I don't even press this although with a woven, you probably should to get a crisp edge.
Now wrap the binding over to the inside of the tee, making sure that the seam allowances are enclosed. This is why you wanted to be sure to sew with an exact seam allowance. (You could use 1/4" allowance if you prefer or even 1/2", the choice is yours; I tend to like the look of 3/8".) The seam allowances fill the binding and give it body. If you have done this before, you can probably wrap and stitch in the ditch at the same time. I take the time to pin the binding in place first, then simply stitch in the ditch to catch the binding. Or you can top-stitch this if you prefer.
With wovens, Kathleen instructs you to understitch the seam allowances to the binding. This is because she is turning the binding entirely to the inside of the garment. It is essentially a facing, but I prefer to have the binding show. And I think the options on a woven shell could be nice, using a contrast binding or perhaps stretch velvet binding on a silky top would be nice. You have a ton of choices here.
The technique of stretching the binding while sewing it on always gives you a neckline that lies flat on the body. It pulls the neckline in very nicely. I often find that tee shirt patterns give you a pattern piece for the binding and it is often too long for the neckline. You end up with some gaping. I have never had this problem, using Kathleen's technique.

Neckline with pins holding the binding in place, ready for "stitch in the ditch"

Close up of neckline with pins in place
Link to Petite Plus Patterns
Link to Short Sleeve Shell #101
That's the way I do binding also. Years ago, Stretch&Sew taught this method, and I still use it today. It makes a neat, flat binding.
ReplyDeleteGreat tutorial Julie. Good refresher for me. Love the print and the pattern. What a nice outfit you have planned with the print t-shirt, beige pants and white jacket. Love the combination.
ReplyDeleteThanks for the reminder about Stretch & Sew, Gwen. I forgot I have that book and what a great reference it is.
ReplyDelete