Wednesday, October 5, 2016

Kwik Sew 2801


An old pattern from the stash. I have come to realise that, despite my love of making jackets, I really do not wear tailored suit-type jackets, but love the lines and casualness of a jean jacket style. So when I was looking through the pattern cabinet, this pattern caught my eye. The lines are similar to a jean jacket, but it offers a longer version; also the collar appealed to me.

I have had pretty good success with Kwik Sew patterns. And this one was simple to alter. A length alteration in the bodice of 1 inch, would bring that waist inset to the right place on me. Two inches off the sleeve, one above the elbow and one below made the sleeve absolutely correct. Cut a medium shoulder, grading out to the Large size at the underarm and side seam. I often straighten out curved side seams as I have no curve there and, if you don't have hips that go out at the side, the garment just sticks out awkwardly. Since I have no waist shaping, I don't need any in the pattern either.

I did add a pocket to the jacket. The front extension piece could simply be duplicated and it would give you a pocket. So I cut that piece again, lined it and applied it on top of the front before sewing the side front to the center front. It is hardly visible but gives you that much-needed pocket that we all love in jackets. Once the jacket was to the point to try on, I decided the shoulder seam was too long on me and inserted the sleeves half an inch further in.
 
                                              Image result for kwik sew 2801

My fabric was also from the stash; I think it is a linen/rayon blend. It creases like linen, but has some drape to it; and the threads along the selvage have a sheen to them which makes me think there is a good percentage of rayon in it. I opted for sew-in interfacing; my latest experiences with fusible have not been happy; I have had interfacing bubble and, in one dress, it has actually separated from the fabric after a few washes. Does interfacing lose its ability to adhere if it is a few years old? I didn't have this problem before, and it is the same interfacing, so I am wondering if age does something to the glue.

I even had the lining in the stash, Bemberg of course. So, for this jacket, my only purchase was interfacing, thread and buttons. The pattern doesn't call for a lining, but they sew up so quickly compared to the garment itself and then all the inner guts are covered up. Plus the jacket slips on and off so nicely and looks good over a chair when you take it off. I took a cue from Beth of http://sunnygalstudio.blogspot.ca/ and inserted the lining completely by hand stitching rather than by machine. This assures flexibility in those seams so that nothing pulls or puckers and it doesn't take that long. Kind of relaxing to spread the jacket out on a table and slip stitch the lining in place. Just put on a video on YouTube and my hand sewing was done within an hour.

The colour is very versatile. It will go with the navy linen dress I completed a few weeks ago, and I also have a black wool challis dress that will work well with it. I was wanting an outfit in the closet that would work for dress-up occasions without being too dressy. A dark dress with a cream jacket seems to be just right.


While working on this jacket, I kept thinking that it would be great in a rich cotton velvet, also in a mini-check (like a Sherlock Holmes jacket) and in all-purpose denim. It would also be a great casual jacket made up in medium wale corduroy, to be worn over a turtle neck for those cool fall days. The top-stitching invites such fabrics and I think I will be re-visiting this pattern later this year.


Fabric Sewn  2 metres navy linen for dress
                    2.5 metres ivory linen blend for jacket

Total Yardage Sewn in 2016  -  45.6 metres

I have also been sorting through my fabric stash since I cannot move all of this stuff a thousand miles next summer. I have a whole pile ready to bring to the guild next week for a fabric sale/exchange and I have donated several bags to GoodWill. I think I have pared down my stash by about one-third; there are still several containers to go through and say my goodbyes to yardage once lovingly stashed.




Sunday, September 25, 2016

Peggy Sue Cardigan


I have also been knitting these past few months. I had completed this sweater in June before we went away for six weeks, and just had the buttons to sew on to finish it.


I blocked the sweater but am not sure that it is done sufficiently. It is easier to block a sweater that is knit in pieces than to block one that is knit on circular needles with no seams. Harder to pin it out and get the flat look that you get with individual pieces. Ah well, I reckon this will get worn and take on its own shape that way.

I have knit a couple of sweaters top down but this is the first really successful one. I have two that are to be 'given away', not happy with them at all. You really have to choose the right yarn for your project and I have to admit that synthetic yarns don't make me happy with the results.

This sweater, Ravelry link is  http://www.ravelry.com/patterns/library/peggy-sue
is Peggy Sue designed by Linda Wilgus. It is a cute sweater, what caught my attention was the ribbing. There are a lot of cropped sweaters out there and I lengthened my version by a few inches. I didn't do quite as much ribbing as the pattern recommends, probably only half the length stated, and I am pleased with the result. The sleeves could have been made smaller, so I sewed them in tighter at the bottom edge.

I used Cascade Yarns, 220 Superwash Sport in a sky blue shade. I love Cascade Yarns. I have knit a number of sweaters with Cascade 220 which is a pure wool that you must handwash. The Superwash yarn is a little lighter in weight, you don't have that wooly feel to the yarn (which I love actually).  For this pattern, the Superwash was a perfect choice.

I will try to get a photo of this on me soon. I have difficulty getting self photos and hubby is not cooperative in this regard.


Saturday, September 24, 2016

Burda 8998

From this Burda pattern, that I have had for years, I made a long-sleeved tee from a lovely striped knit purchased from Blackbird Fabrics. I can't remember the content now, but I think it might be a cotton and bamboo blend. Certainly it is very soft and drapey.


                                 Burda Style Pattern 8998 T-Shirt


I altered the pattern with a full bust alteration, but I think I could have got away without doing this. And also spent a fair amount of time getting the neck binding correct. I wanted the black stripe to be in the band, I messed this up the first time around and had to unpick the binding ....  grrr ..... but it was worth it in the end. I also traced the pattern out so that I could have full patterns for the back and front in order to match the stripes. I don't know how I managed to get it wrong but I have one extra stripe in the back area between neck and armhole, so I just eased it in and figured who is going to notice. The side seams match perfectly and that was more important to me.


Keeping track:

   Sewn up  -  41.1 metres
   Purchased - 43.1 metres

I have also made up a navy linen dress and am working on a cream linen jacket to go with it. Not that I am ever current with the seasons. At least this will be ready for next spring.


Wednesday, September 7, 2016

McCalls 7360


Another make of McCalls 7360. Sad to say, my first version was done in 100% linen and it shrunk in the wash. I should have pre-washed the linen three times, as all the books on fabric tell you, but silly me - I didn't. And the shirt is wearable, but it feels too short.

The second version is in rayon tencel.

I added one inch to the length of this just in case of shrinkage on this fabric. Due to the drapey nature of rayon, the hem hung unevenly. I left it for two days to just hang before hemming. And I had to trim it quite differently due to the uneven drape of the fabric.


Hard to see the details on a black fabric. But definitely a very nice pattern. To be put in the tried and true file. I just gave away about 30 patterns as well, clearing out the filing cabinet. I am trying to be realistic here:  what will I actually sew?  certainly not that designer Vogue wedding gown.

Fabric used:  2 metres
Fabric purchased:  6.5 metres from Stedman's in Barry's Bay - they have a small quilting section in the store and I couldn't resist two prints that I spied there. 

39.6 metres sewn so far this year
43.1 metres purchased


Wednesday, June 29, 2016

Another shirt to pack


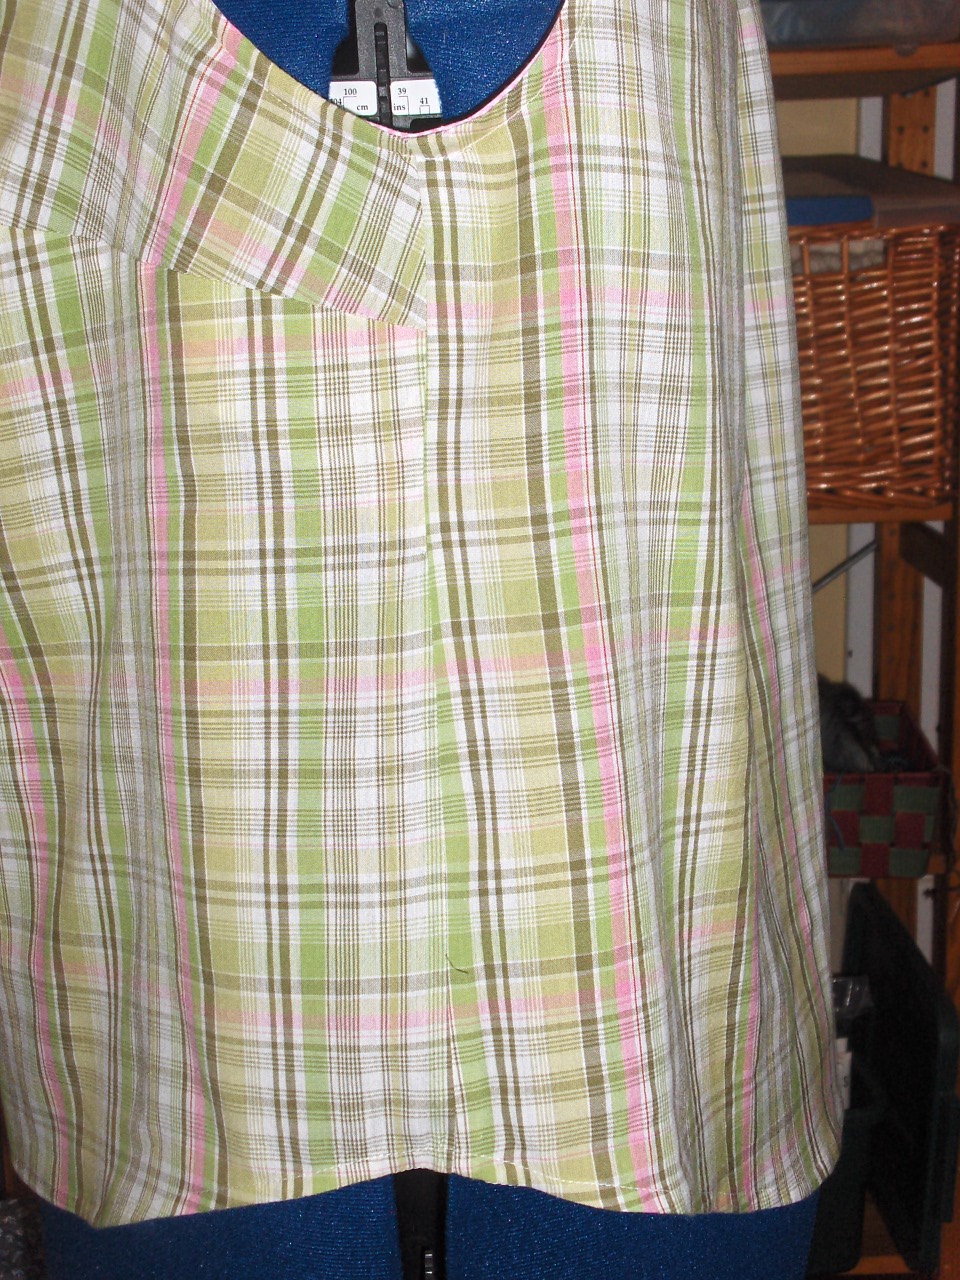
I finished this shirt this afternoon. It is from the pattern McCalls 7351 with the sides straightened and cut to shirt length. The fabric is a fine cotton plaid that I bought in Texas in February and the gingham is a piece I bought to go with something else but then changed my mind. 


One change I did make was to trim off 3/8 inch from the top of the collar band and I also trimmed off 1/4 inch from the outer edge of the collar. I wanted the collar to be somewhat smaller so that it wouldn't come up too high on my neck. The shirt is meant for those hot summer days in Ontario which we will be getting next week.


I made the buttonholes with green thread and used seven half inch green buttons for the front closure. I bought a bag of buttons at Michael's the other day, and already I have used them for two garments. A real bargain, about 100 buttons for less than $4.


I matched the side seams at the hem until I got close to the bust dart. I cut all pieces out single layer to match the plaid. And cut the outer yoke on the bias, the inside yoke is cut from the pink gingham.


The armholes fit really well without any gaping and they are finished with bias binding cut from the pink gingham. And with that, I have closed up my sewing room as we will be away for a month. It will be knitting needles for the next four weeks. 

Unfortunately the wool I ordered will not get here in time, so I will have to find something in the stash to knit while we are away.

Lots of fun, we are having a family reunion in Ontario. At some point, there will be 20 adults and 15 children. People are coming and going at different points, but some will be around for a week and there will be a lot of chatting, a lot of wine drunk, and a lot of laughter I am sure.

I was rushing to get this shirt made before going, and then I decided to count my summer shirts. I have 10 that I have made in the past year, so I think I am ready for this vacation. 


Fabric purchased:  0 metres
Fabric sewn:  2 metres green cotton plaid and pink gingham

Running total for the year: 36.6 metres purchased and 37.6 metres sewn up


Summer Sewing


A dress for daughter Elena. Butterick 6208. One version was made for her daughter Hannah and mom hinted that she would like one in the same colour as the pattern photo. I found a pretty shade of orange at our local Fabricville store; it may be too light to be a dress, and I will wait until she tries it on before we make a decision whether or not to cut it off as a tunic. 

Personally, I wouldn't want to have to wear a slip under a summer dress, it kind of defeats the purpose of being cool. And this dress is too see-through to wear alone. It is 100% cotton lawn, beautiful fabric but perhaps better suited to a blouse or tunic.


I did buy some white rayon fabric and made her a slip, but I don't see this being worn under the above dress. However, one can always use a slip. This is from McCalls 6696, a pattern for a classic shirt-dress. It also includes a pattern for a bias slip with spaghetti straps and it is really pretty. The rayon has a silky feel and drapes beautifully and even more so when cut on the bias.

This will have to wait until a try-on before I can hem it. I enjoyed the tiny edge finishes on this; it reminded me of a sheer shirt that I made some years ago and used the edge finish methods of Tom and Linda Platt that were written up in an old Threads magazine. It really is much better than serging and turning under; you sew on the seam line, then press that under, trim the seam allowance to a scant 1/4 inch, then turn that under again and stitch again. So every edge has two lines of stitching, it takes time but gives a wonderful finish that won't pull out or fray as a serged finish might do over time. For the side seams, I made French seams, they seemed in keeping with the pattern and the fabric.


I added some elastic lace trim to the front and back necklines just to make it a little prettier.

The slip is a nice bonus to get in a pattern that is already great.


Fabric purchased:  1.5 metres white rayon for slip
Fabric sewn:  2.5 metres coral cotton lawn
                    1.5 metres white rayon


Running total for 2016:  36.6 metres purchased and 35.6 metres sewn
Closing the gap!


Tuesday, June 21, 2016

Shirt-dress success - McCalls 6885


This shirt-dress was posted on the Britex website.  And I thought I have a fabric very similar to this, a dotted denim shirting that I bought last summer at Fabricville. I had intended to make a shirt-dress with it, but didn't get around to it. Kind of glad that I didn't cut it then because I think it will be perfect for McCalls 6885 that I just made up in seersucker above.

The seersucker is very light fabric and I think that might be why it works better as a tunic than as a dress. But this denim-y fabric is a little heavier and should have just the right weight for the pattern.

I will make it with short sleeves and will cut the hem straight with side slits.

I was spurred on to make this version after seeing the pattern on this site.

http://kaythesewinglawyer.blogspot.ca/2016/06/some-inferior-photos-from-brilliant-day.html


I will also eliminate the little pleat at the front at the bottom of the placket, I don't see any reason for this pleat and I will simply fold it out all the way down to the hem before cutting out, then cut straight down the sides for a straight hem and will sew the sides leaving slits at the bottom.

I have often thought that making the same pattern two or three times is a good idea. After all, ready-to-wear is made after numerous samples are sewn to work out the kinks, to work out what fabric works best, etc. And yet we sew-ists hope to achieve success on our very first try. Often we do, but many times there is that little something that bothers us about the finished garment. Rather than just remain frustrated about it, why not make the pattern again and fix those problems?  The second version will sew up much quicker, it will probably fit better, and you may just hit that sweet spot. Success depends so much upon hitting that sweet spot where the finished garment meets or exceeds our expectations.

June 21, progress made and dress is finished.

                                       
Front of dress with placket opening; these get better each time I make them.

                                        
Side view, hem has been straightened and short slits left in the side seams.


Back yoke with added pleat at centre back. The pattern didn't have a yoke piece, so I just cut one from another pattern and shifted the back over from the fold to allow for a pleat. I think it adds some interest to the back of a garment and the self-lined yoke sits better on the shoulders than a single layer of fabric.


The back of the dress. 


My favourite part of this pattern - the collar and collar band. This pattern comes together so well that I may just use this collar and band pattern piece for other shirts.
I used the method that Louise Cutting uses for collars, sew the bands on the neckline, then sew the rounded front edges, leaving the top of the bands open to insert the collar.

Then sew the finished collar onto the inside collar band, and tuck in the raw edges of the outer band over the encased collar and top-stitch all around the band. This produces such a nice edge on the band. I used to use the technique of Margaret Islander, which is slightly different than this method. I have found that I have more control with this method and get good results every time.
Not one hand stitch on the collar, everything done with the machine for a professional finish.

I am so pleased with this dress and with this pattern. I have plans to make another version, perhaps the colour-blocked one. I saw a woman at church with a beige dress and a black border, and immediately thought it would work in this pattern!  She wore it with a black cardigan, black shoes, and a black chunky necklace and did it ever look sharp.

Next up: a dress for my daughter Elena.

Fabric Purchased:  0
Fabric Sewn:  2.5 metres cotton print