A little bit of sewing going on here. I decided to use the newer jean jacket by Palmer/Pletsch as it is more fitted and not boxy like their previous one. The pattern has princess seams, the front has princess seams from the armhole down. They can be a challenge to ease in, unlike shoulder princess seams which are a piece of cake. I even recut one front as I just couldn't get rid of the puckering. I shouldn't have worried so much, as today I put on the pockets and realised they cover up the very area where the puckering was visible.
This fabric is tricky, it must have a lot of rayon in it as it frays like the dickens and also picks quite easily. I will have to be careful when wearing it, not to snag on anything. The pattern calls for no lining, but I will line this just to cover all those fraying seams and give the fabric a little bit more weight. I must also photoshop these pics, as the fabric looks more orange than red, and it is actually a deep wine colour.
I have the front and back constructed, on to the sleeves next. Then I will insert the lining at that point, simply placing it wrong side to wrong side, and then applying the collar and facing afterwards. A bit of a cheat for lining, but simple and quick; also the method Pati Palmer advises in the pattern.

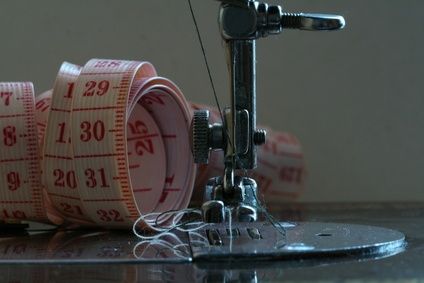
One thing I did differently was to use Peggy Sager's advice on the corners of the pocket flaps. Most sewing books tell you to stitch with small stitches to the corner, then take two small stitches diagonally across the corner, in order to help with turning the fabric. Peggy once said in a seminar I attended that this is not the method used in factory construction; instead, the machine operator stitches right across the seam to the raw edge, then crosses it in the other direction (this is what you can see in the photo), then folds the seam allowances back on themselves, holds them with her finger and flips the corner right side out. I had also read this in a Threads magazine years ago, in a column by David Page Coffin, and it made a lot of sense to me. After all, by stitching diagonally and then trimming the seam allowances, you are then trying to shove them all into that corner and that puts bulk right where you don't want it. With Peggy's method, the seam allowances are tucked into place, not shoved into the corner with a point turner, and they actually give the corner some body. Now, I am not sure how this would work in a very thick fabric, but it certainly works very well in lightweight fabrics and I was pleased with the results in this brocade type.
Gigi made this jacket in a silvery-metallic type fabric. I have to admire her skills; all her work looks so professional and her finished garments are darn near perfect. You can view her version
here - the jacket is her 7th jacket, McCalls 5860. That fabric must have been difficult to work with. Kudos to Gigi.
Interesting note: seeing the photo of the jacket front here makes me think I need to reinforce it somewhat. I mean it is draping like a blouse, and is supposed to be a jacket. I think some silk organza might just be making its way into this garment, the front at least. Opinions welcome.